Ubuntu’s latest release 11.04, nick-named Natty Narwhal was made available on 3rd April. The major changes are the implementation of Unity, replacing GNOME. The new interface is more attractive and easy-to-use. OpenOffice is replaced with LibreOffice in this version and the default music player is no more RhythmBox. Banshee Player has taken RhythmBox’s position. Firefox 4.0 is the default browser.
This is a quick post to help the existing Ubuntu 10.10 users(only) to upgrade to the latest version.
Table of Contents
Getting Ready for Upgrade
The first step as everyone would recommend is to backup all your important Data. You might loose your data if something goes wrong during the installation, which is unlikely to happen but not impossible. To avoid regretting data loss later, it is highly recommended to be on the safe side and make backups.
The Upgrade Process
There are currently two ways to upgrade to the latest version:
- via the Update Manager
- using the Alternate CD/DVD
The Update Manager requires a working internet connection to download updates, whereas the alternate CD/DVD is provided for offline upgrade. I recommend you to use the alternate CD/DVD instead of Update Manager if your internet connection is slow. I was trying to update via the Update Manager but it was giving me sick speed of around 50kbps with 6 hours ETA, my normal download speed being 140kbps. Right now I’m downloading the alternate version as it will obviously consume less time.
Updating via the Update Manager
This way requires less work, but as I stated earlier it might consume more time than the other way.
Open the Run window by pressing Alt +F2, type “update-manager -d” and hit Enter. This will run the update manager.
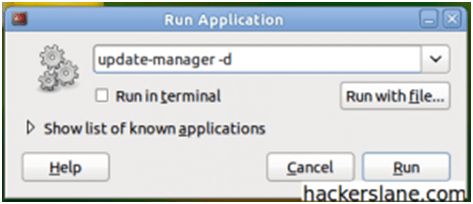
Run Update Manager
The “-d” that we had used in the previous command was to enable listing of distributions. You will now see the New Release notification in the first half of the update window. That’s what we needed.
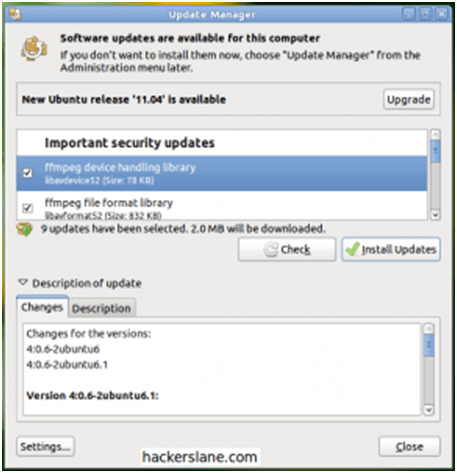
Update Manager
Before we try to do the major release upgrade, we are supposed to update the current existing packages. Upgrading to the new release without updating current packages might result in bitter experiences. Update the current packages then click on the release “Upgrade” button on top. The Release Notes will appear on screen.
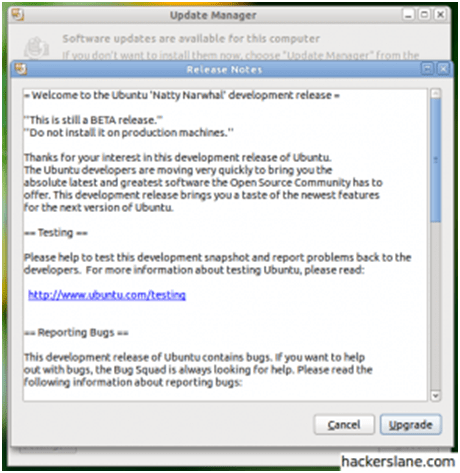
Release Notes
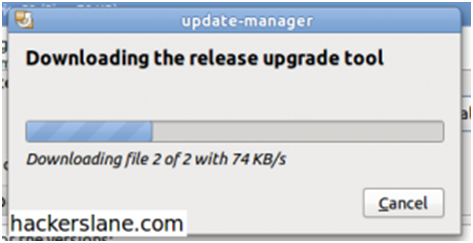
In the release notes window, click on the “Upgrade” button located at bottom-right. This will bring a dialogue box which would download the upgrade tool required for the upgrade process. You will be prompted to enter your password to provide admin privileges to this tool.
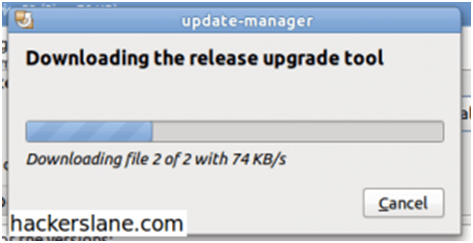
Upgrade Tool
Right after the previous step, the “Distribution Upgrade” dialogue box would appear. Your work is over, now things will get done all by themselves and after the restart you’ll be having the latest release.
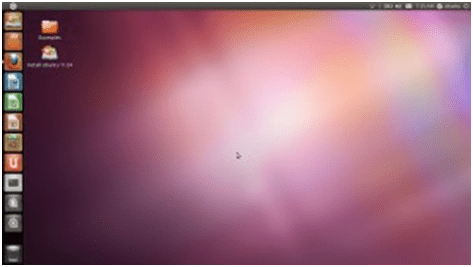
Ubuntu 11.04 Beta 1 Desktop
Updating via the Alternate CD/DVD
- Download the Alternate CD/DVD appropriate for your system.
- Burn it to a disc or mount the ISO using this tutorial. Alternatively you can use Archive Mounter.
- The Upgrade dialogue would appear automatically once the ISO is run, follow the on-screen instructions.And DON’T click “Yes” when the dialogue box ask you to include latest updates from the internet. Or else, the packages will be re-downloaded, even though I guess it wasn’t meant to be; but that’s what happened with me.
Distribution Upgrade
Note: In case the dialogue doesn’t show up, go to run (using Alt + F2) and type gksush /cdrom/cdromupgrade to manually run it, if you’re using a disc. If you have mounted it else where, for example to /mnt/iso, type gksush /mnt/iso/cdromupgrade