How to set up a site using Joomla CMS.
Joomla is an award-winning, open-source Content Management System (CMS) that can be used to create websites as well as build applications. It offers efficient and powerful features like no other CMS, and is known for its ease of use and flexibility. In this tutorial, you’ll be learning how to set up your own site on the web using Joomla with ease.
Procedure
- Choosing a Webhost to host your Joomla files
- Download, Set up and Configure Joomla
- Get started with your site, adding content to it
Webhost? What’s it?
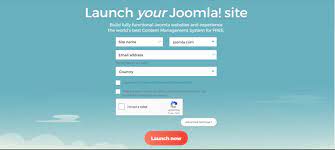
If you haven’t come across this word before, let me tell you. Literally, a Webhost is something that hosts your files on the web, so that others can access it online. Every website requires a webhost. There are some webhosts that provide you with space for free, otherwise it has to be bought. There are many sites that provide hosting specifically for Joomla CMS, these Joomla Web Hosting providers would give you features such as one-click install which saves a lot of manual work for you. Choosing a webhost is a big task, as your site’s performance depends on your webhost and it’s resources. So when you’re buying hosting, you have to be smart enough to choose a good hosting provider to host your Joomla site.
Once you have decided your hosting provider, move on to the next step.
Setting up Joomla
Now we’re going to set up Joomla on your Webhost.
Download the latest Joomla Package.
Then, do as follows:
- Extract the WinRAR archive.
- Upload the extracted files to your webhost. If you want to install Joomla into the root of your site, upload all the contents to the root. Else, rename the folder to the desired sub-directory. In my case, I am installing it on my local server in the “joomla” sub-directory.
- After uploading the files, open the URL that points to your Joomla files. This will bring up the Joomla installation page. Choose your language and click “Next” button present on top-right corner.
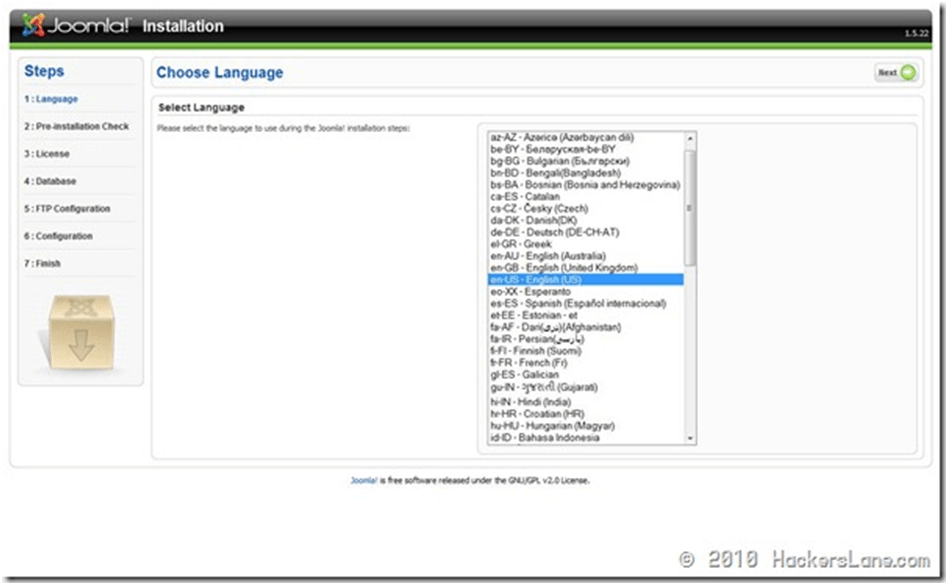
Joomla – Step 1
- Now you’re on the second step of the installation where it displays some basic installation that you should be aware of. Go through it and click “Next”.
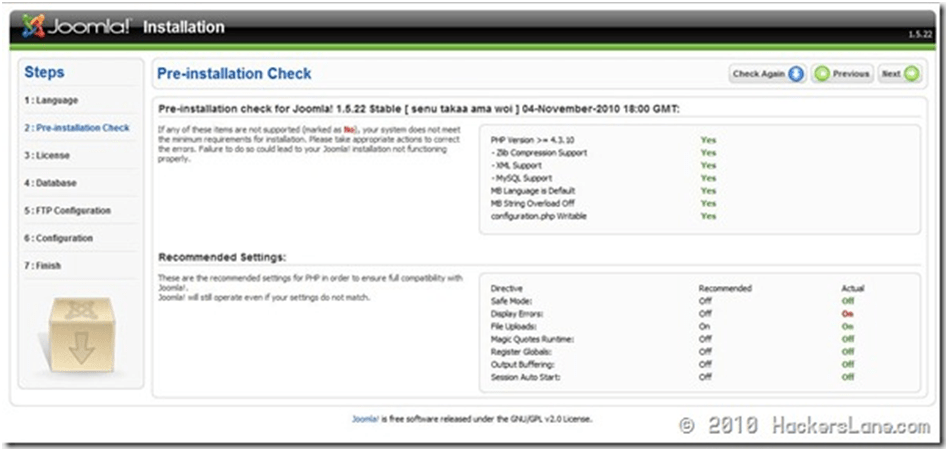
Joomla – Step 2
- Now here comes the license page, read it if you’re interested, otherwise click “Next”. I didn’t even bother to read a single word.
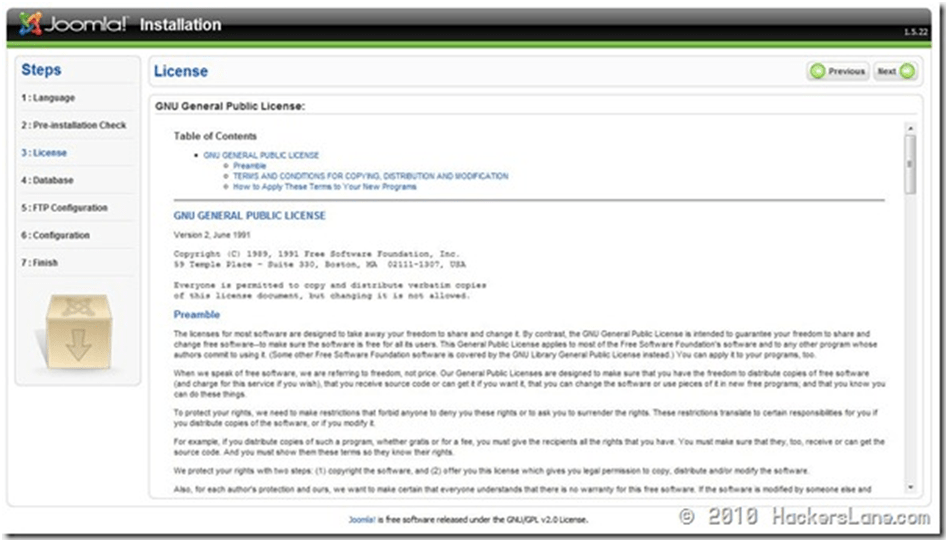
Joomla – Step 3
- The 4th step is Database configuration, the most essential thing. Fill in your database details: DB type, Hostname, Username, Password, DB name; and click “Next”.
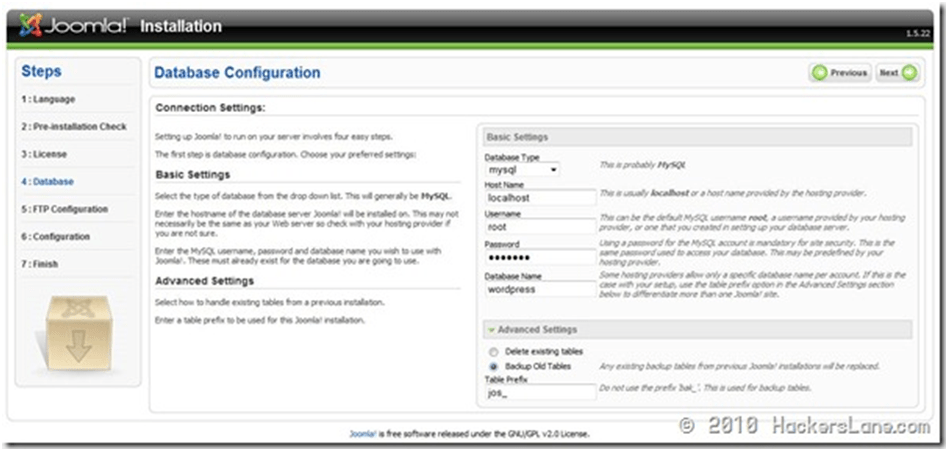
Joomla – Step 4
- If you wish to configure FTP to be used along with your Joomla, do so in this step. Move on to the next step.
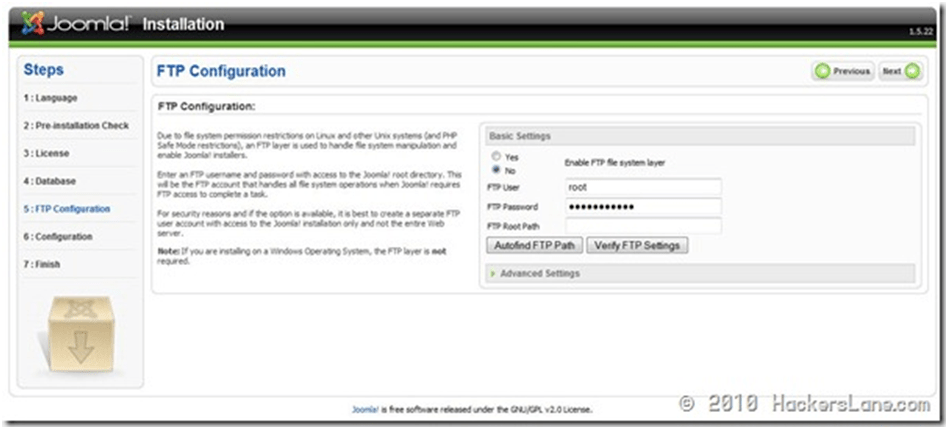
Joomla – Step 5
- The main configuration part kicks in at this moment. Here you’ll be entering your Site’s name and creating an account with administrative privileges that will be used to administer your Joomla Site. Click “Install Sample Data”, this would be good to begin with.
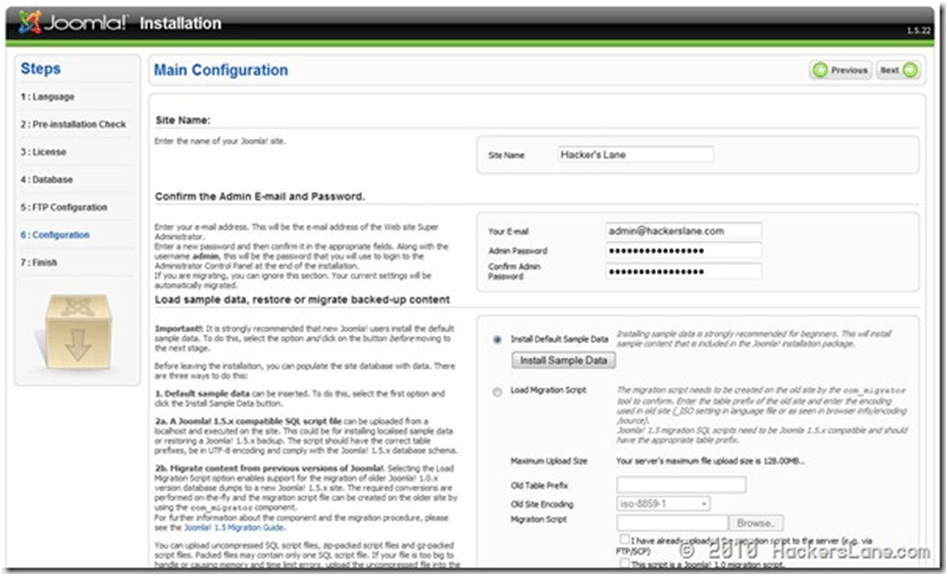
Joomla – Step 6
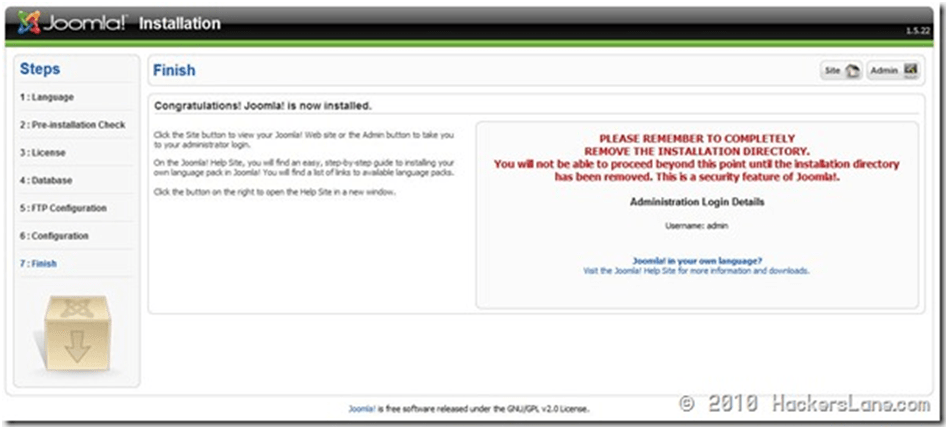
- You’ve successfully done everything. Now you need to go to your webhost and delete the “installation” folder to secure your site and get started.
Joomla – Step 7
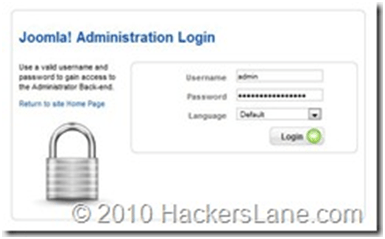
Congrats! You have successfully installed Joomla on your webhost. Now you can go to administer it at this URL http://“Your Joomla Installation”/administration/.
Joomla Login Page
Getting Started with your site
After you log in, you’ll see the Joomla administration Panel that will help you to keep a watch at your site, manage it, change its looks, administer it and lots more! Have fun with your Joomla!
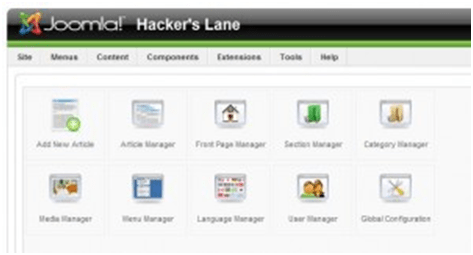
Joomla Administration Panel
If you encounter any problems, do let me know through comments below. 🙂